you can use external floppy disk for install AHCI drive or use nLite software to making bootable windows XP with AHCI Driver.
For nLite tutorial how to use this software;
step one:
download nLite software from http://www.nliteos.com/ v1.4.5 beta 2 | Installer | 2.48 MB
step two:
after install nLite you can look like that
 Click NEXT to the next step
 Click BROWSE.. to find where you Locate Windows XP installation files in your local disk
( You must copy Windows XP Installation in your drive)
 When you find windows XP installation just click OK
 After that you can look windows XP details then click NEXT
 this step just click NEXT
 Select task just like a picture ( Drivers & Bootable ISO)

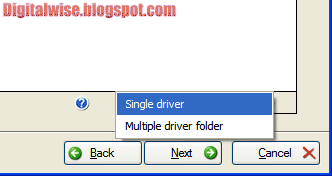
 Click insert > select "Single driver" > locate the driver and click "Open"
 Select driver like on the picture and click "OK"
( For Toshiba L40 Driver SATA AHCI 82801 HH/HM (ICH8 E/M)
 nLite window will look like this... just click NEXT
 To START Process just click YES
When process finished, click NEXT
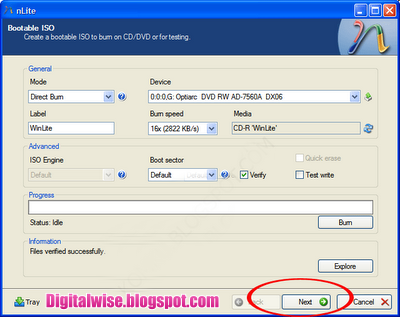
 Click REFRESH to find your MEDIA (if no media detected)
 After you click refresh button, select BURN, select the lowest burn speed,
. Dont forget to check "Verifiy" (optional)
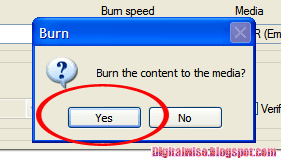
 after that to burning proccess select YES
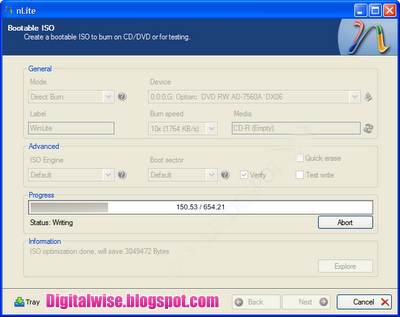
 With for a moment
 After Burning finish the last step click NEXT
 and the lastly FINISH
its really simple and you can use same step to install other brand, just find the AHCI Driver
0 comments:
Post a Comment